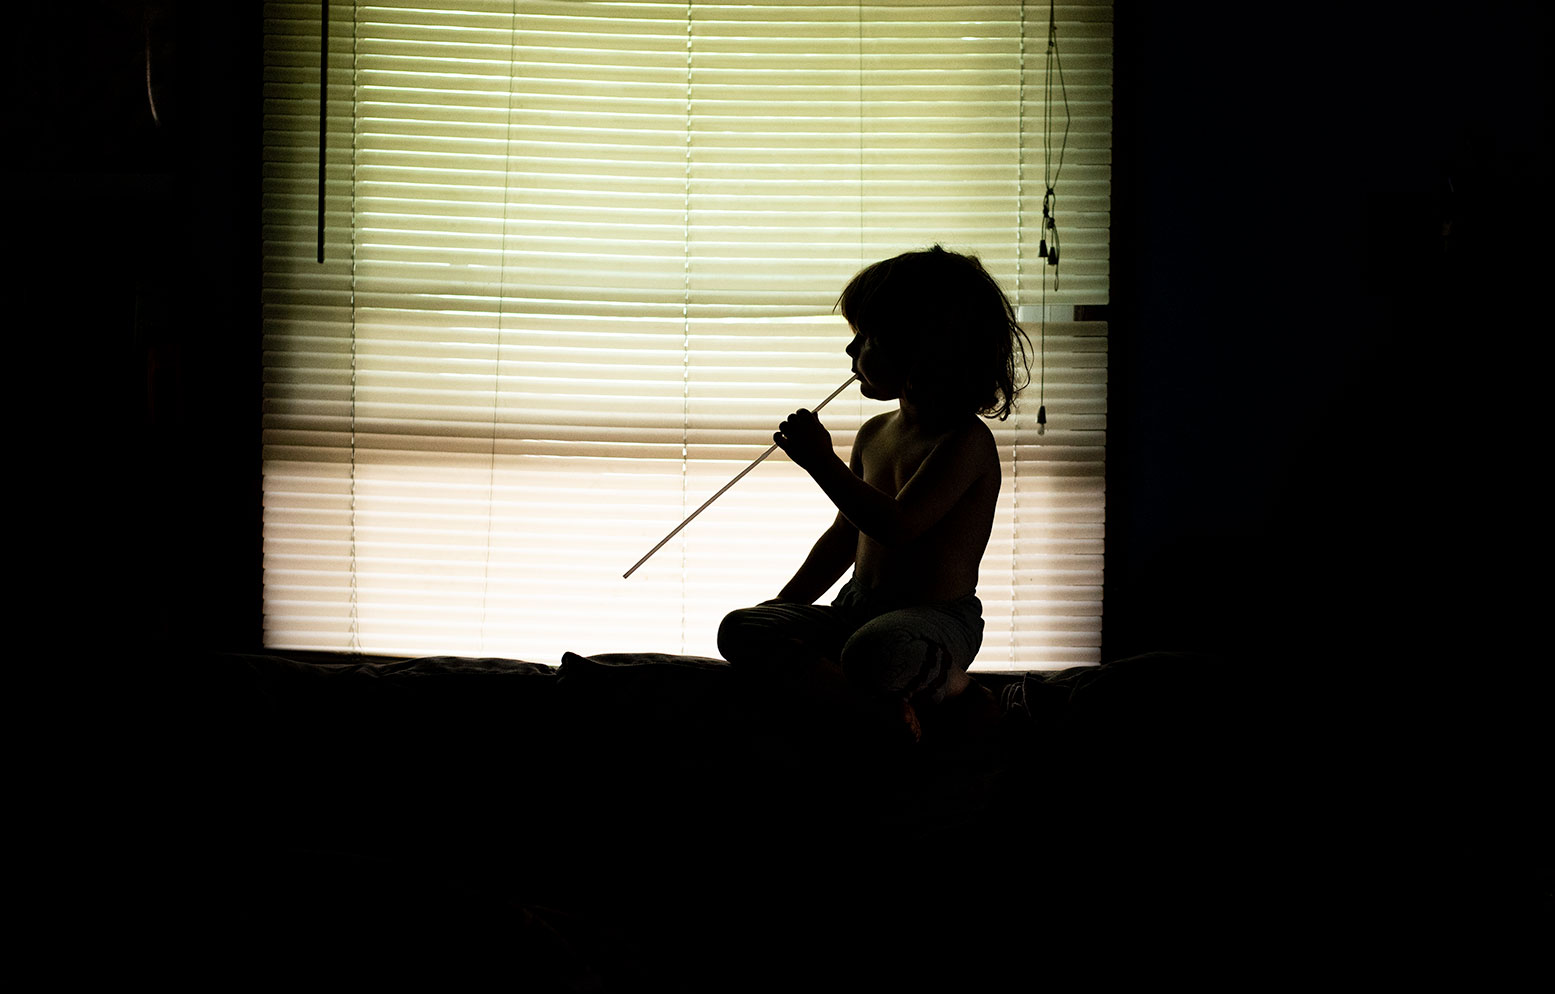
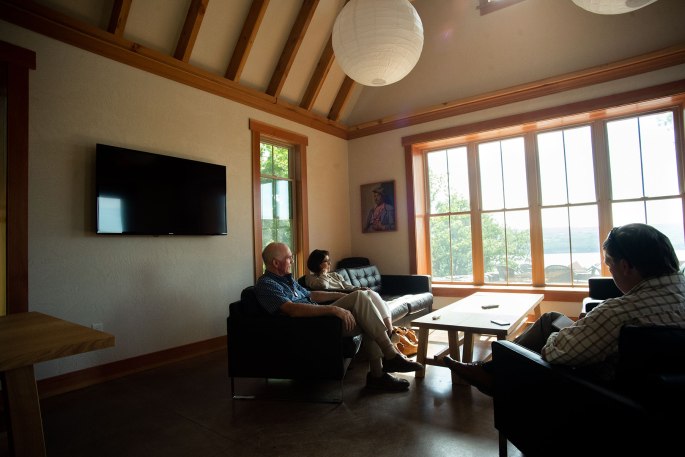
Since I live in the north and our winter months are often cold and dark, the key word being dark, I’ve learned to adapt to shooting in low light so I can photograph my family even when we are stuck inside during the depressing winter months.
Over the years I took a couple of classes on Clickin’ Moms, searched the YouTube archives and scoured the internet for articles to learn how to do improve my low light photographs, something that has proven to be beneficial for freelance assignments, in addition to personal photos.
I thought I’d share a couple of low light tips here, after being inspired by YouTuber Peter McKinnon. Remember, these are all simply tips, and not a list of “rules.” Your photography is your own.
1) Shoot manual.
If you don’t know how to operate your camera manually, I suggest you take a class, or simply look online, and learn how to do so, because being able to adjust settings manually is key to capturing low light images. Knowing how to adjust your camera manually allows you to adjust your aperture, your ISO and your shutter speed, setting it where it is needed to capture your subject, no matter the lighting situation. Most importantly, learning how to operate your camera manually (which is the “M” stop on your camera dial) gives you unfettered control of your photography.
As a self-declared control freak, this fact is a welcome one for me. It’s one of the few times in my life I feel like I have been given control over something and at times I find myself wild with power – adjusting settings like a convict running through the streets after they have just been released from prison. Okay, that was a horrible analogy, but you know what I mean. I like to have control over my photography because when I do I have freedom to create the images I see in my mind.
2) Open wide that aperture.
The wider the aperture, the more light is let into the camera, which is basic photography knowledge. Widening the aperture is one of the best ways to grab amazing bokeh during brighter lighting situations, but in lower light, it’s the best way to capture a scene without it being underexposed. Using your light meter in the camera can help you to determine if your scene is too dark or too bright. Your aperture is adjusted by your “f-stop”, if you’re new to this photography stuff.
3) Increase your shutter speed.
If you’re finding you are getting a lot of blur in your low-light images, because the wide aperture is narrowing your depth of field, you’ll need to increase your shutter speed to help capture movement. This is especially helpful for parents photographing their children. Increasing your shutter speed, however, will, of course, make your scene a little darker.
You may ask how you can increase your shutter speed if your aperture is open so wide and the answer to that is your ISO, which you will need to increase to help brighten a darker scene.
4) Increase your ISO.
Your ISO is like your film speed, if you were using a film camera, but you’re most likely not because this is 2018 and everyone has a digital camera at this point.
If you want to get a brighter scene in a low light situation, you’ll need to raise the ISO, which can cause some grain, or noise, in your image, but grain isn’t always a bad thing. Grain can add character, or a more documentary feel to the image. And if you don’t like grain, hopefully, you are using a camera that either handles noise well or lets you shoot in RAW, which brings me to the next tip: shoot in RAW.


5) Shoot in RAW.
While the goal should always be to get it right in the camera, there are going to be times the situation doesn’t allow for perfect lighting,, or the right settings. And for those times there is the RAW setting and luckily most advanced digital cameras today have a RAW setting.
For more information about what RAW means in relation to photography, check out this link.
Shooting RAW allows you to adjust your image in post-processing without causing damage to the quality, since RAW is simply the digital information for the photo, not the actual image. When a JPEG image is edited, repeatedly, for example, it degrades the image to the point of ruining it.
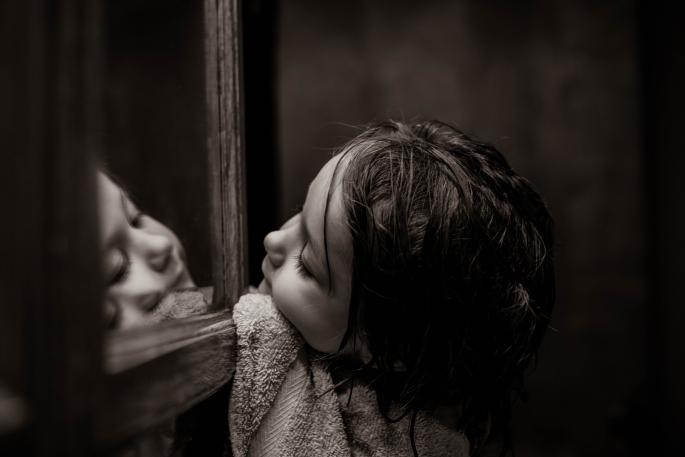
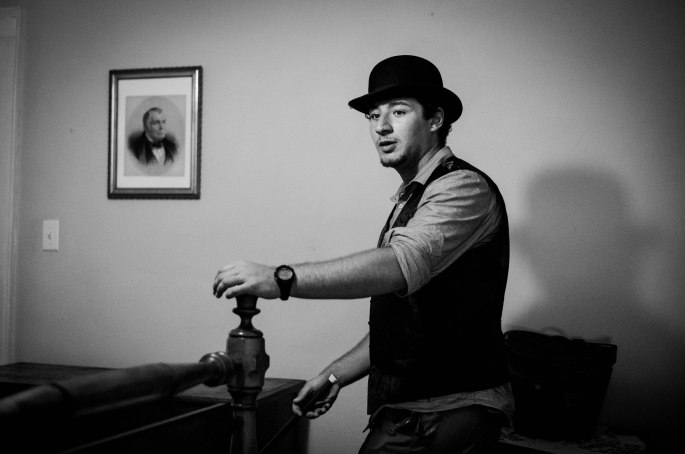
When you photograph in RAW you can take an underexposed image like this, for example,
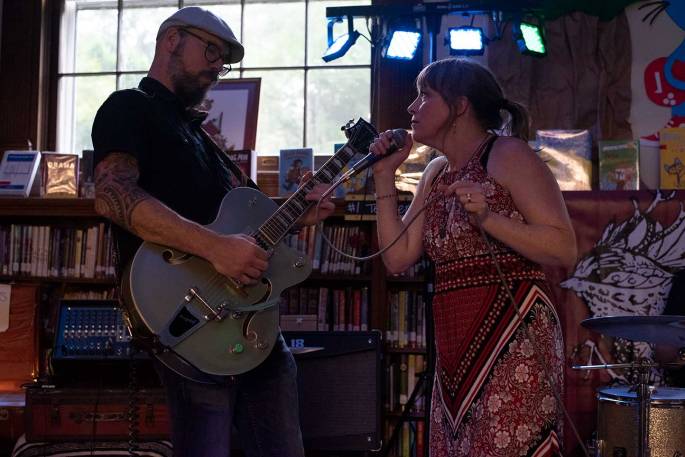
and raise the exposure in post edit to end up with a final image like this:
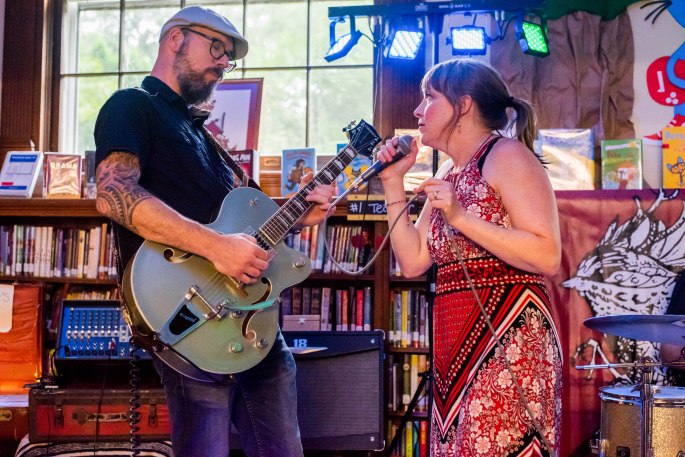
without losing too much quality. If a great deal of noise remains you can use the luminance slider in Lightroom, which Peter discusses in the video below.
There are definitely more tips out there for low light photography than I am mentioning here, but the biggest hope is that by having a few tools under your belt to shoot in low light, you won’t shy away from doing so and will feel free to capture moments in your life no matter the lighting situation.
To see Peter McKinnon’s tips on low light check out his video, below…
Any questions? Feel free to ask them in the comments. If I don’t know the answer we can look for it together!
___
For more photography tips or simple rambling about photography, rural life or motherhood, be sure to subscribe to my blog on the right sidebar. You can also find my photography at http://www.instagram.com/lisahoweler

Ohh for real..i only ever had nikon and i also have an olympus tough tg4 i think it is. Anyways your pics are beautiful 🙏
LikeLiked by 1 person
Thank you!! Nikon camera’s do seem pretty tough and I love this one in low light so I’ll probably stick with it for as long as it lasts for me.
LikeLiked by 1 person
Great pics! What camera do you use?
LikeLiked by 1 person
Nikon d750
LikeLiked by 1 person
Ohh cool. Niceness… I use Nikon D 3300. I find Nikon really is a great brand for photography.
LikeLiked by 1 person
Me too! I do sort of miss my canon, though
LikeLike
And thank you!!
LikeLike
Great advice and technique 🙂
LikeLike